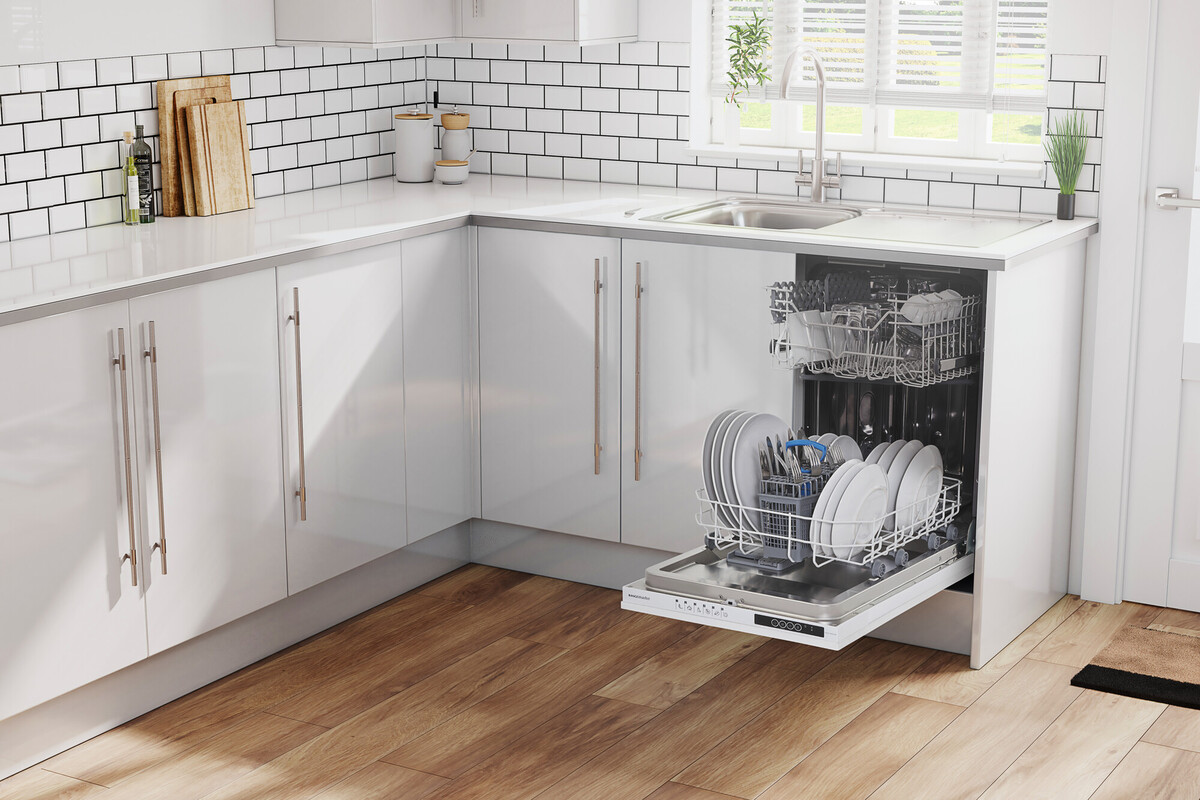
The installation of integrated dishwasher models is expensive because it involves a lot more effort compared to standard ones. Their installation process is entirely different and designed to withstand heat as part of the built-in setup. However, the installation process requires attention to detail and a bit more effort compared to standard models. This guide will walk you through the steps to ensure your integrated dishwasher door is installed correctly and securely.
Why Integrated Dishwashers Are Different
The installation of integrated dishwasher models is more challenging because they require more effort compared to standard ones. These dishwashers are built to handle the heat and moisture of the kitchen environment while maintaining a sleek appearance. Unlike their freestanding counterparts, integrated dishwashers are designed to be installed within your cabinetry, providing a unified look. This process requires precision, as the door needs to align perfectly with the surrounding cabinet doors. Here are some tips on how to replace an integrated dishwasher door.
Tools and Materials You Will Need
Before you begin, gather the necessary tools and materials. Having everything on hand will make the installation process more efficient. Here’s what you’ll need:
- Integrated dishwasher door
- Screwdriver (Phillips and flathead)
- Measuring tape
- Level
- Pencil
- Screws (usually provided with the dishwasher)
- Drill (optional)
Guide to Installing an Integrated Dishwasher Door
1. Prepare the Dishwasher and Door Panel
First, make sure the dishwasher is unplugged and disconnected from the water supply. Open the dishwasher door and locate the screws that attach the existing door panel. Using your screwdriver, carefully remove these screws and set them aside. Remove the old door panel and set it aside.
2. Measure and Align the New Door Panel
Take your new integrated door panel and measure it to ensure it fits the dishwasher. The panel should align perfectly with the front of the dishwasher and the surrounding cabinetry. Use a level to ensure the panel is straight. Mark the screw holes on the new panel with a pencil.
3. Attach the Mounting Brackets
Most integrated dishwashers come with mounting brackets that need to be attached to the door panel. Follow the manufacturer’s instructions to secure these brackets to the panel. Typically, you will need to drill pilot holes where you marked the screw holes earlier. Once the brackets are in place, you can attach the panel to the dishwasher door.
4. Secure the Door Panel
Carefully align the door panel with the dishwasher door. Use the screws you removed earlier to secure the panel to the door. Make sure the panel is flush with the rest of your cabinetry and that the screws are tightened securely. Check the alignment one more time with the level to ensure everything is straight.
5. Test the Door Functionality
With the door panel securely attached, test the functionality of the dishwasher door. Open and close the door several times to ensure it operates smoothly and that the panel is securely fastened. Make any necessary adjustments if the door is not closing properly or if the panel is misaligned.
6. Reconnect the Dishwasher
Once the door panel is installed and functioning correctly, reconnect the dishwasher to the water supply and plug it back into the power outlet. Test the dishwasher to ensure it is working correctly.
Final Thoughts
Installing an integrated dishwasher door may require a bit of effort, but the end result is a sleek and seamless look that enhances your kitchen’s aesthetics. By following these steps, you can achieve a professional-looking dishwasher installation and enjoy the benefits of an integrated dishwasher.

