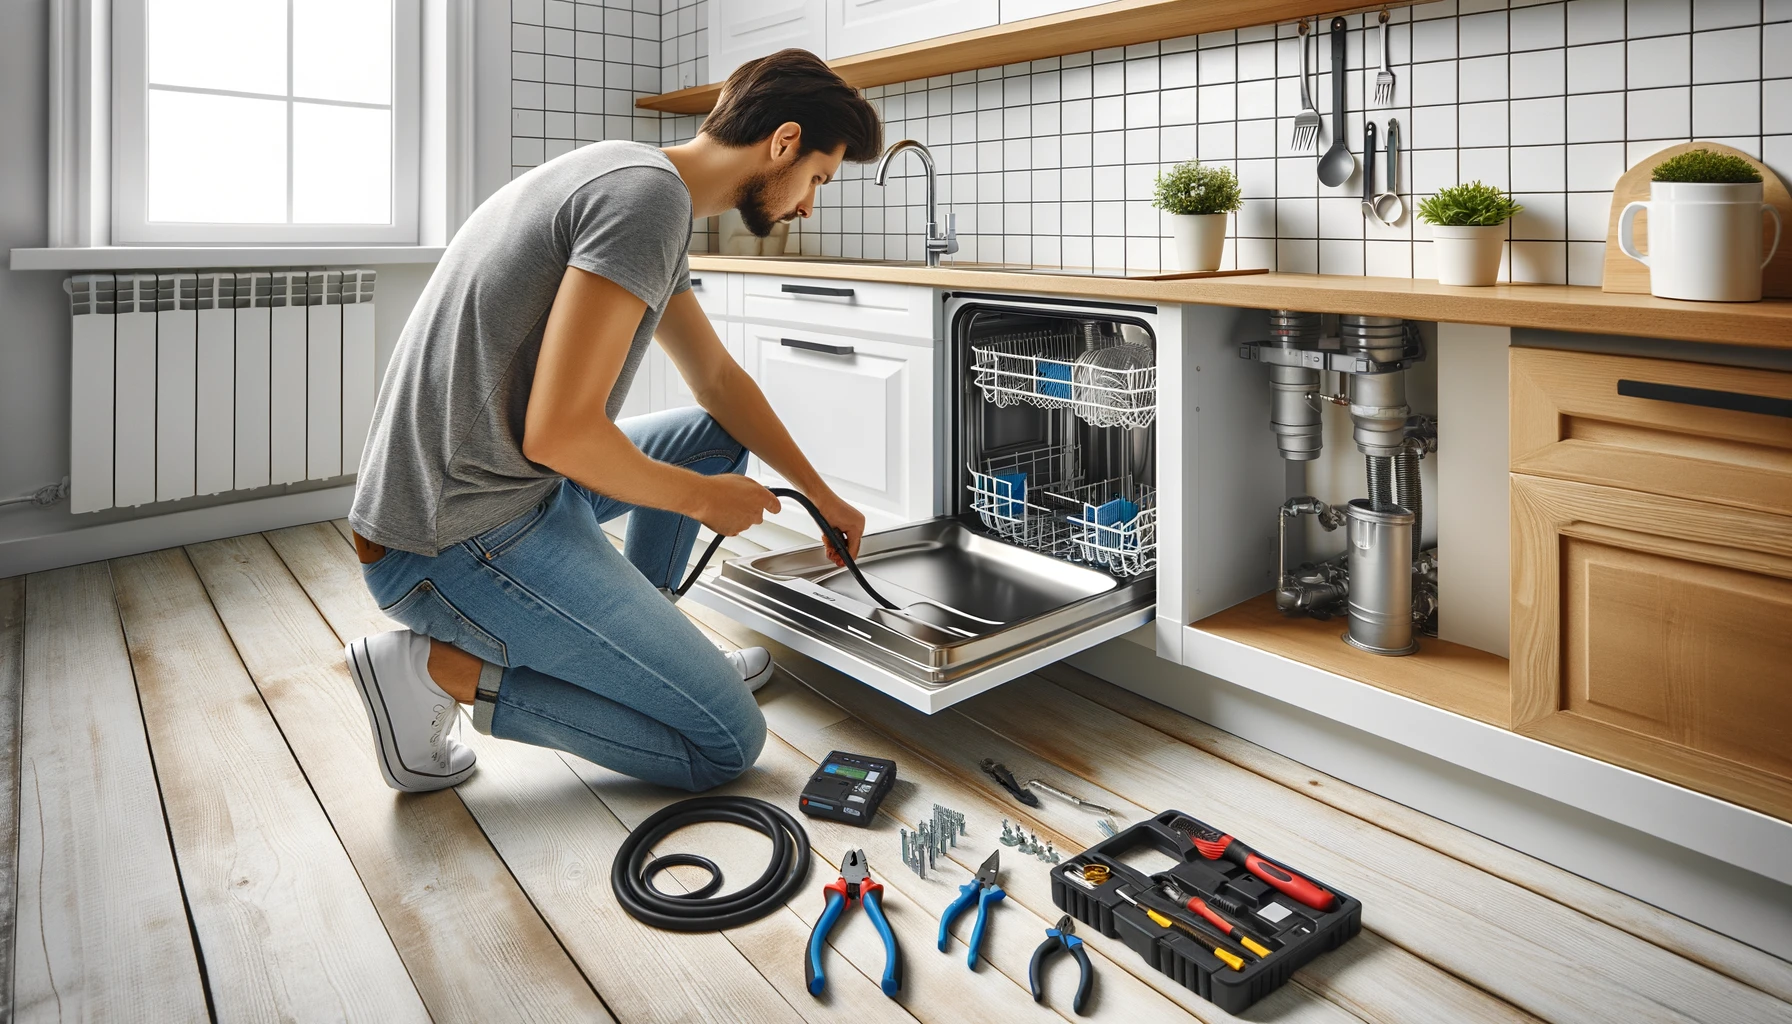
A dishwasher is an excellent labor-saving device that simplifies kitchen cleanup and is also highly water- and energy-efficient for washing dishes. Installing a dishwasher might seem difficult, but with the right tools and a bit of patience, you can do it yourself. This guide will walk you through each step, ensuring a smooth and successful installation. Whether you’re replacing an old unit or installing one for the first time, follow these instructions to get your dishwasher up and running in no time.
Tools You’ll Need to Install a Dishwasher
Before you begin, gather the necessary tools and materials:
- Adjustable wrench
- Screwdrivers (Phillips and flathead)
- Pliers
- Drill and bits
- Level
- Bucket
- Teflon tape
- Electrical tape
- Dishwasher installation kit (including hose, fittings, and power cord)
Step 1: Prepare the Space
Ensure the space for your dishwasher is clear and accessible. Measure the opening to confirm it matches the dishwasher’s dimensions. Check for existing water, drain, and electrical connections. If this is a new installation, you may need to hire a professional to set up these connections.
Step 2: Turn Off Power and Water Supply
For safety, turn off the power to the kitchen at your home’s main electrical panel. Shut off the water supply to the dishwasher line, usually located under the sink. Disconnect the old dishwasher if replacing one, and remove it from the space.
Step 3: Attach the Mounting Brackets
Most dishwashers come with mounting brackets that need to be attached to the countertop or the cabinet sides. Follow the manufacturer’s instructions to secure these brackets, ensuring they are firmly in place.
Step 4: Connect the Water Supply
Locate the water inlet valve at the bottom of the dishwasher. Attach the water supply line using the fittings provided in the installation kit. Use Teflon tape on the threads to prevent leaks. Tighten the connection with an adjustable wrench, but avoid over-tightening to prevent damage.
Step 5: Install the Drain Hose
Connect the drain hose to the dishwasher’s drain outlet, securing it with a clamp. Route the hose to the sink drain or garbage disposal inlet. Make sure the hose is elevated to prevent backflow, following the manufacturer’s guidelines for proper drainage.
Step 6: Connect the Electrical Wiring
Most dishwashers require a dedicated electrical connection. If your dishwasher has a power cord, simply plug it into the outlet. For hardwired connections, remove the junction box cover on the dishwasher, and connect the wires—black to black (hot), white to white (neutral), and green or bare to the ground screw. Secure the connections with wire nuts and electrical tape.
Step 7: Position the Dishwasher
Carefully slide the dishwasher into place, ensuring the water supply line, drain hose, and electrical wiring move smoothly without getting kinked or pinched. Use a level to check that the dishwasher is even on all sides. Adjust the leveling feet as necessary.
Step 8: Secure the Dishwasher
Once the dishwasher is level, secure it to the countertop or cabinets using the mounting brackets installed earlier. This will keep the unit stable during operation. Double-check all connections to ensure they are tight and secure.
Step 9: Turn On Water and Power
Slowly turn on the water supply to the dishwasher and check for any leaks around the connections. If everything looks good, restore power to the kitchen from the main electrical panel.
Step 10: Test the Dishwasher
Run a short cycle to test the dishwasher’s operation. Check for leaks again and ensure the unit fills, washes, and drains correctly. If you encounter any issues, refer to the troubleshooting section of your dishwasher’s manual.
Maintenance Tips
To keep your dishwasher running efficiently, follow these maintenance tips:
1 – Regularly clean the filter and spray arms.
2 – Run a cleaning cycle with dishwasher cleaner monthly.
3 – Check and clean the door seal to prevent mold and odors.
Conclusion
Installing a dishwasher is a manageable task that can save you money on professional installation fees. By following these steps, you’ll not only have a fully functional dishwasher but also the satisfaction of completing the installation yourself. Enjoy the convenience and efficiency of your new appliance!
FAQ
Q: Do I need a professional to install a dishwasher?
A: While a professional can ensure a flawless installation, you can install a dishwasher yourself by following this guide.
Q: Do I need a plumber to install a dishwasher?
A: Not necessarily. As long as you have the necessary plumbing connections in place, you can handle the installation yourself.
Q: Can I install a dishwasher myself?
A: Yes, with the right tools and instructions, installing a dishwasher yourself is entirely doable.
Q: Can a dishwasher be installed next to an oven?
A: It’s possible, but ensure there’s adequate insulation between the two appliances to prevent heat damage.
Q: Can a dishwasher be installed under a sink?
A: Yes, but it requires careful planning to ensure there’s enough space and that the plumbing and electrical connections are appropriately positioned.
Q: How long does it take to install a dishwasher?
A: Typically, it takes about 1-2 hours, depending on your experience and the complexity of the installation.
Q: What should I do if my dishwasher is leaking?
A: Check all connections for tightness and ensure the drain hose is properly elevated to prevent backflow. Consult the manual for specific troubleshooting steps. With these detailed instructions, you’re well-equipped to install your dishwasher with confidence. Happy installing!

