Installing a dishwasher in an existing cabinet is a fantastic way to upgrade your kitchen and streamline your chores. This guide will walk you through the process, ensuring you get it done efficiently and correctly. With the right tools and steps, you’ll have your new dishwasher up and running in no time!
Check out the Video
Tools and Materials Needed
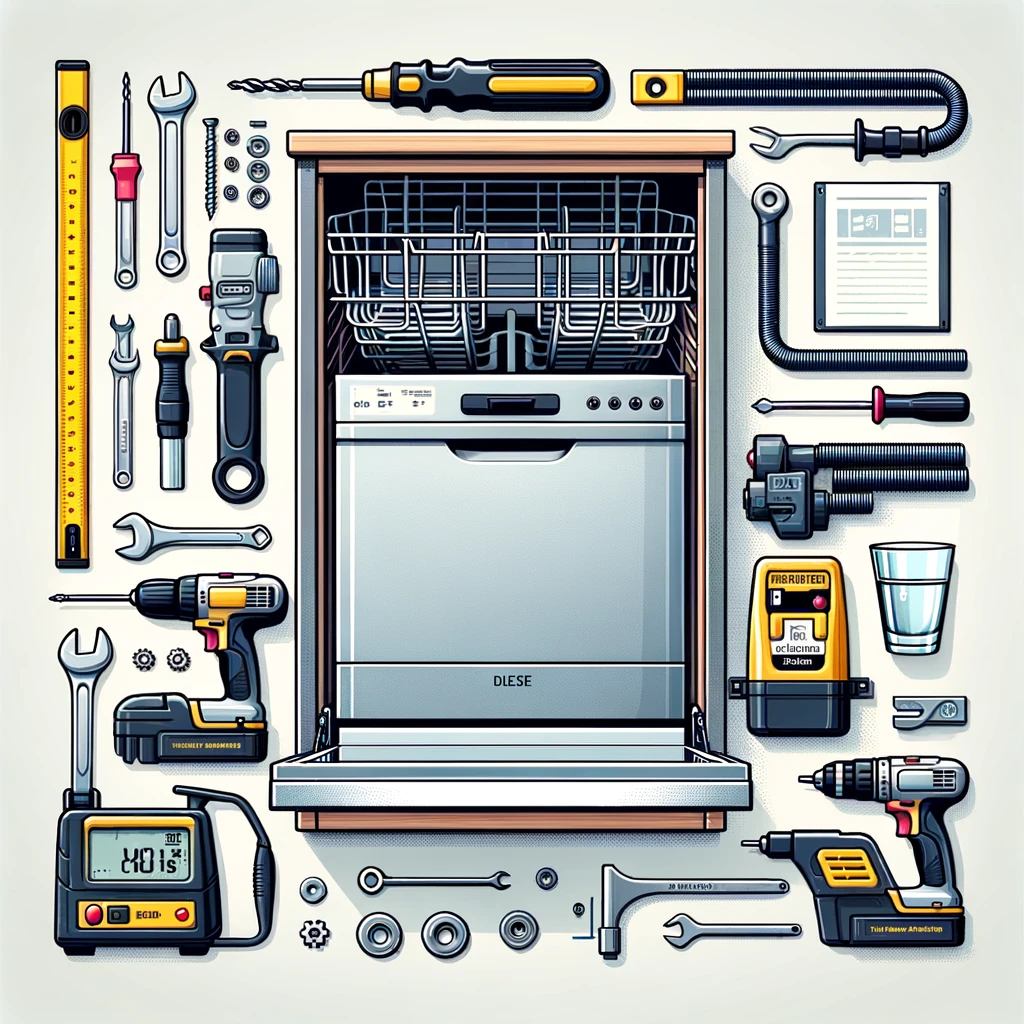
Before starting, gather these essential tools and materials:
- Screwdriver
- Drill
- Wrench
- Tape measure
- Level
- Water supply line
- Drain hose
- Power cord
- Dishwasher installation kit
Step-by-Step Installation Guide
1. Measure the Space
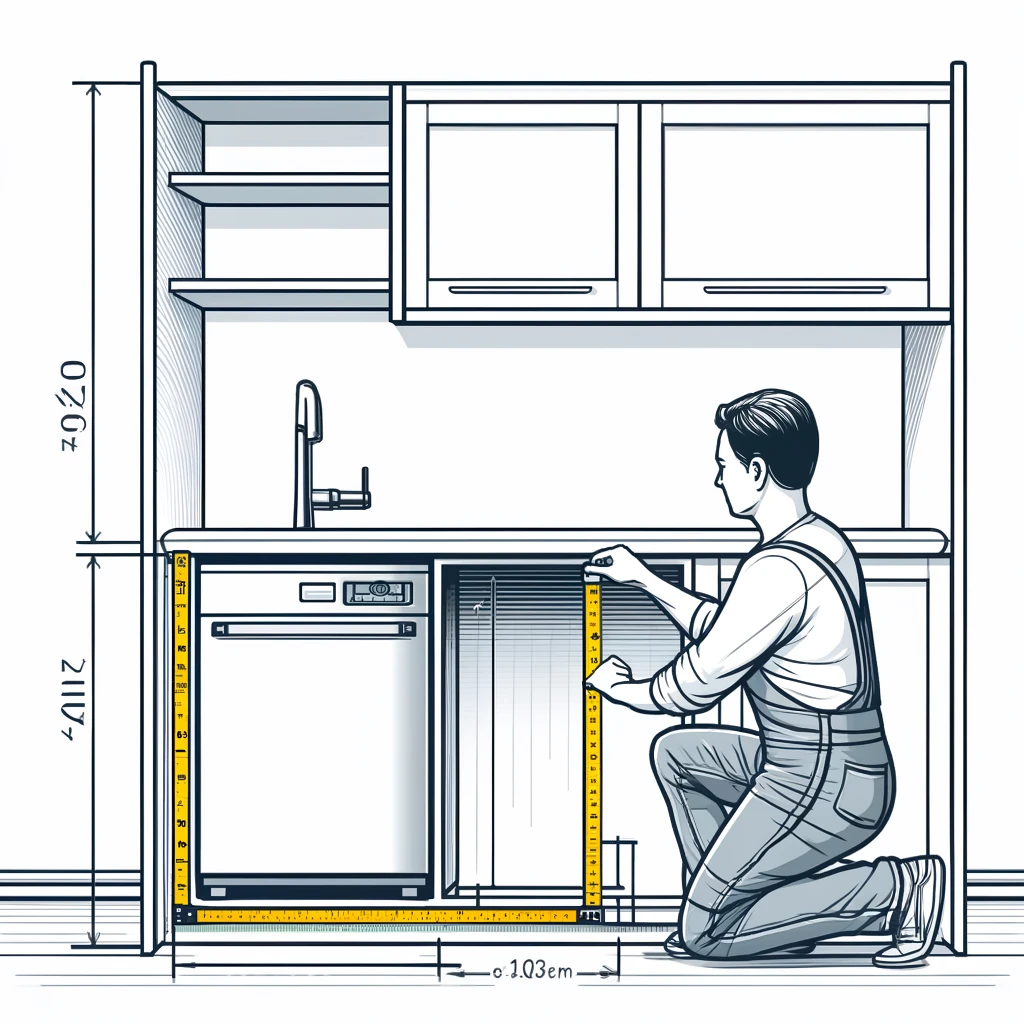
First, measure the height, width, and depth of the cabinet space to ensure your new dishwasher will fit perfectly. This step is crucial to avoid any installation hiccups.
2. Prepare the Area

Remove any existing shelves or obstructions from the cabinet. Ensure the area is clean and free of debris. This will make the installation process smoother.
3. Shut Off Power and Water Supply
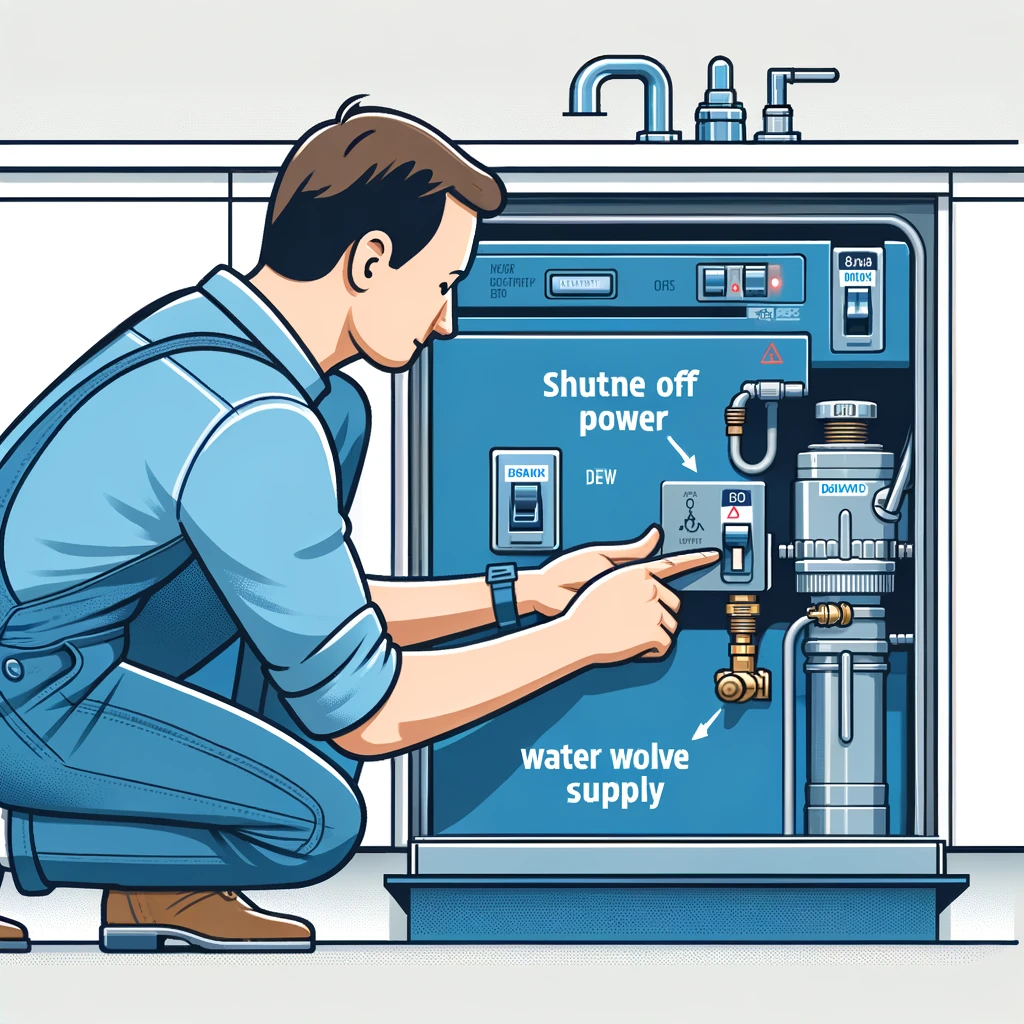
Before starting, turn off the power to the kitchen and the water supply to the sink. This step is essential for your safety and to prevent any water damage.
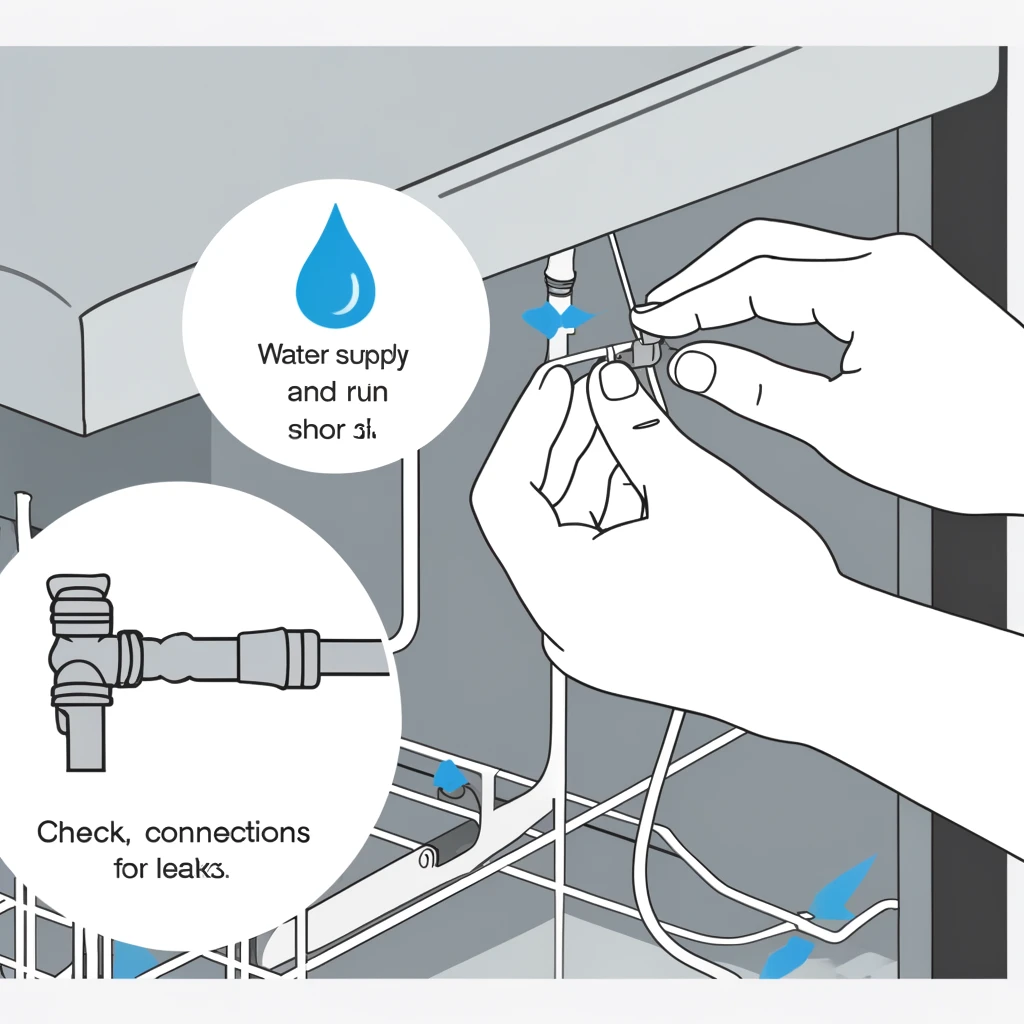
4. Install the Water Supply Line

Attach the water supply line to the hot water valve under the sink. Use a wrench to ensure it is tightly secured. Then, run the line through the cabinet to the dishwasher’s water inlet.
5. Connect the Drain Hose
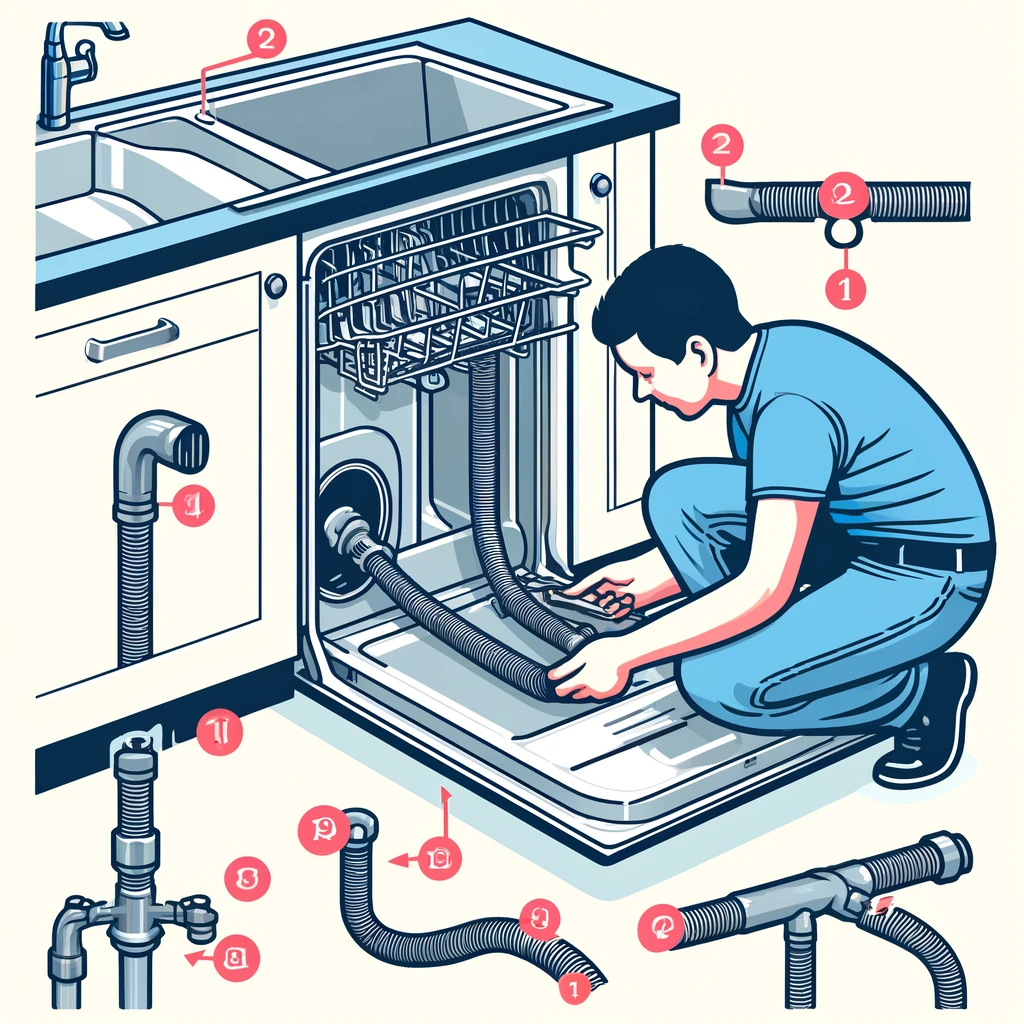
Connect the drain hose to the dishwasher and run it to the sink drain or garbage disposal. Make sure it is securely fastened to prevent leaks.
6. Attach the Power Cord
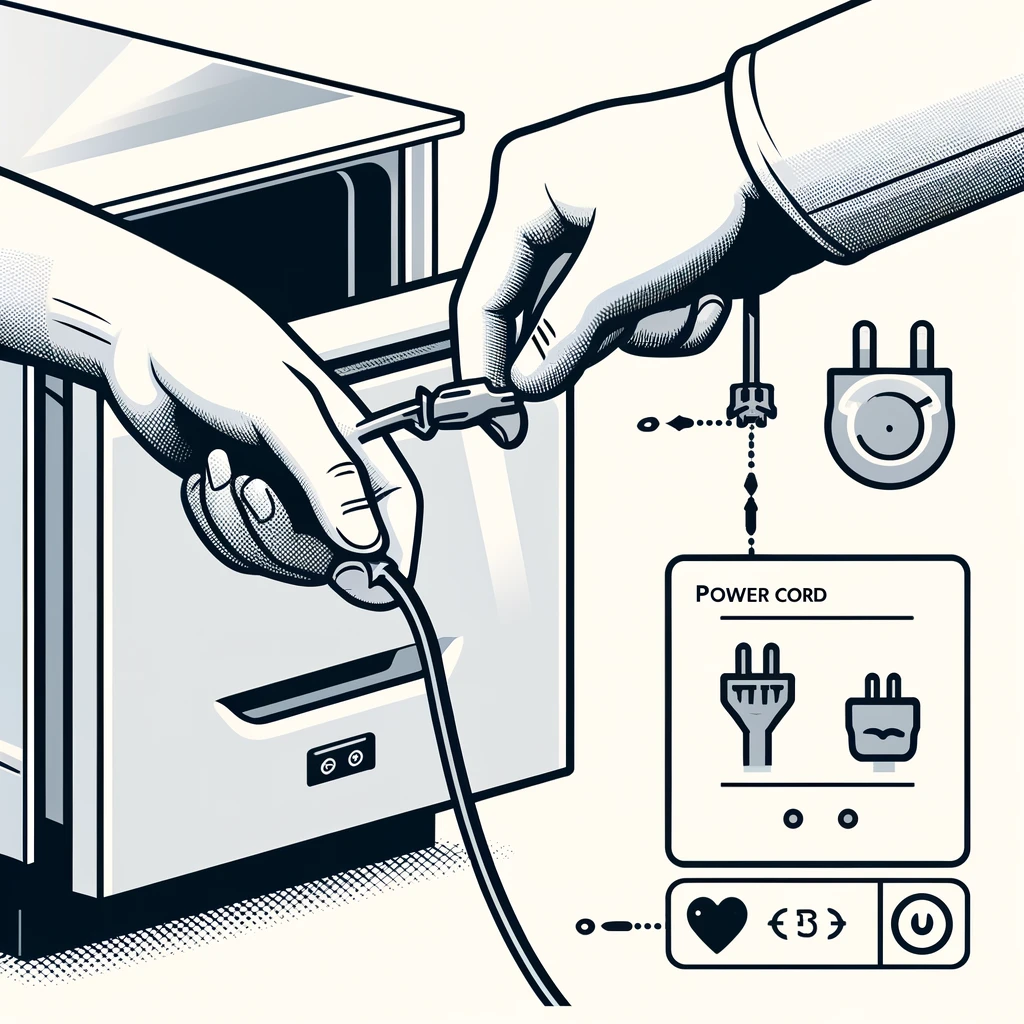
Connect the power cord to the dishwasher. If your model doesn’t come with a power cord, you can purchase one separately. Ensure it is properly connected to avoid any electrical issues.
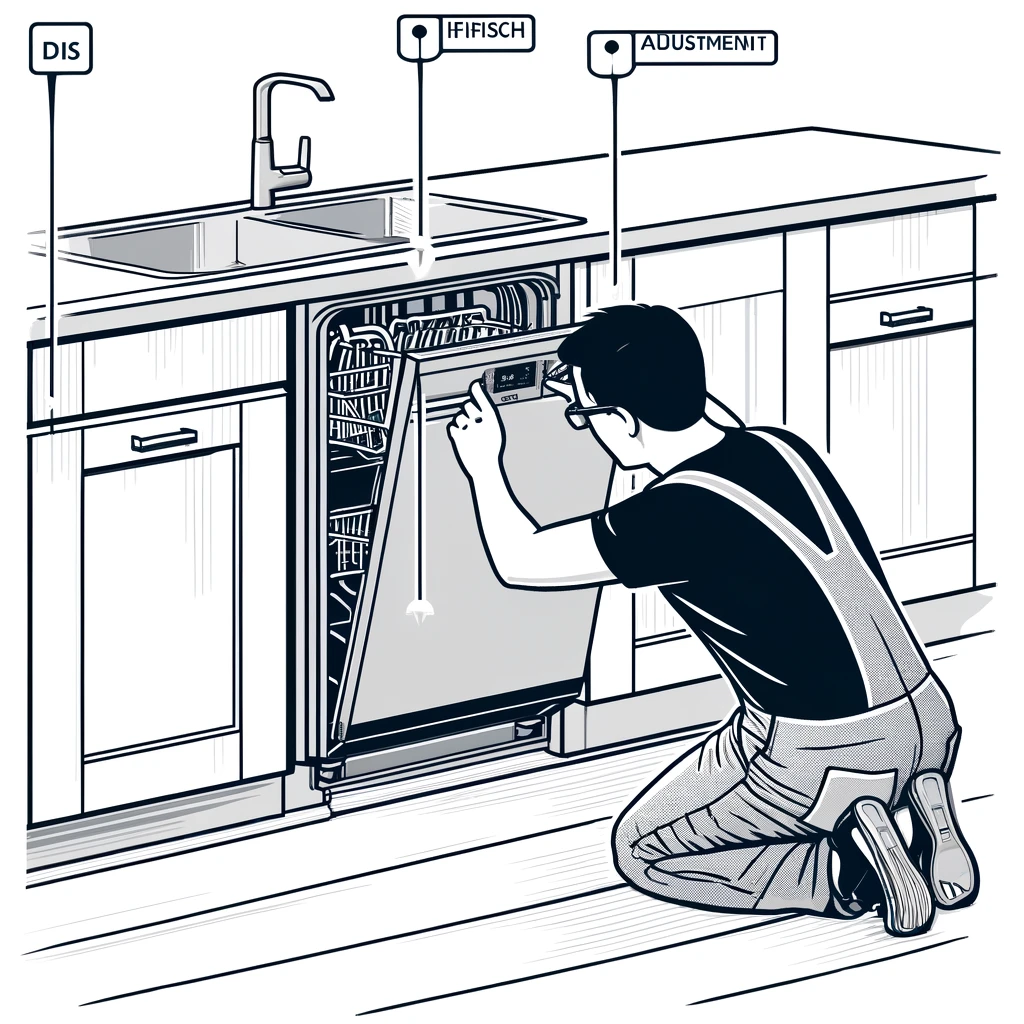
7. Position the Dishwasher
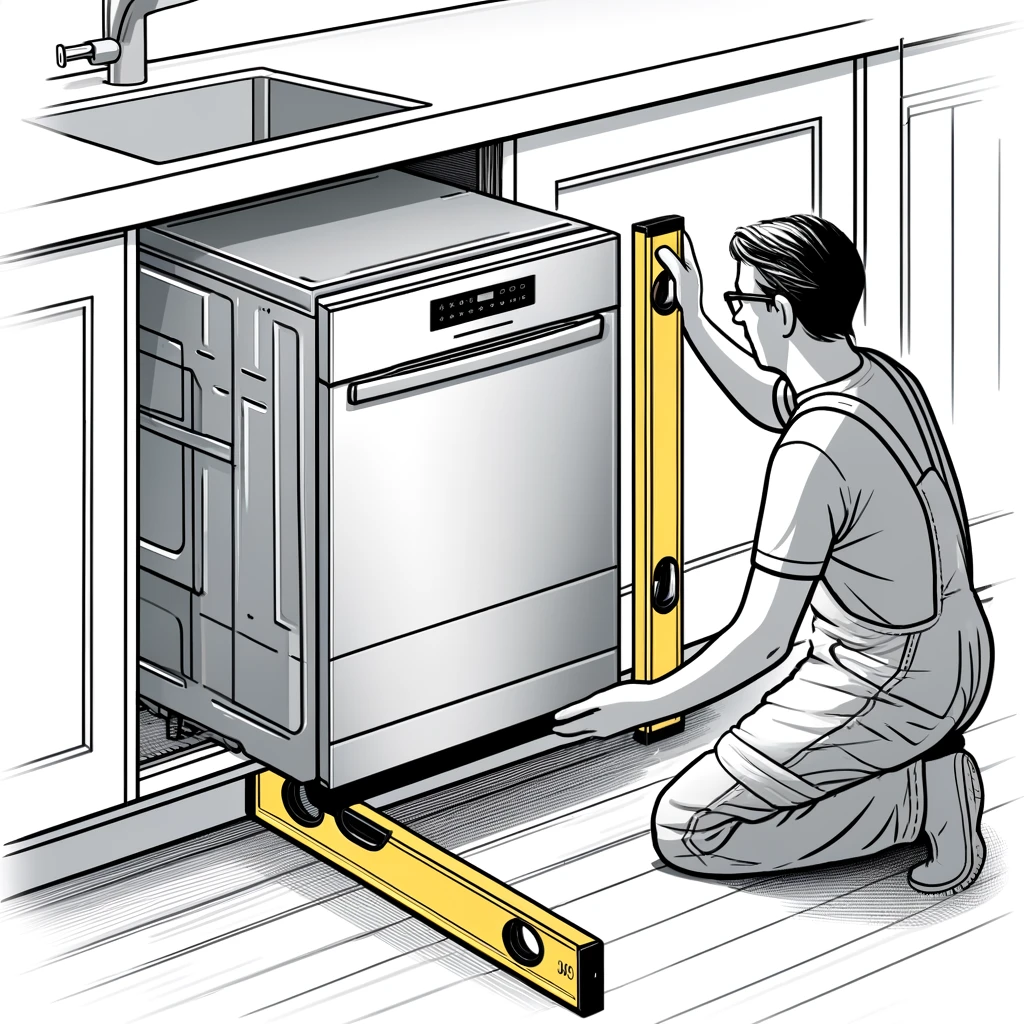
Carefully slide the dishwasher into the cabinet space. Use a level to make sure it is perfectly aligned. Adjust the legs if necessary to ensure it sits evenly.
8. Secure the Dishwasher
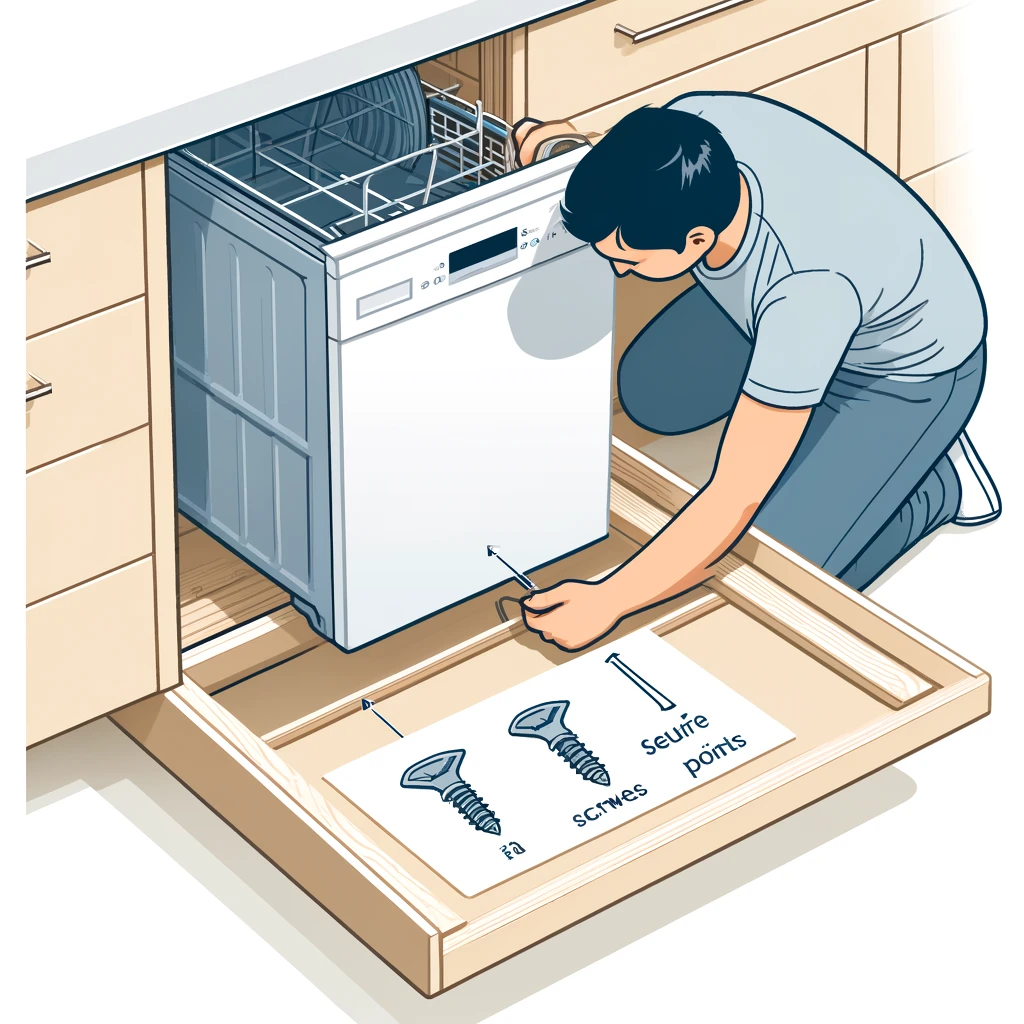
Once in place, use screws to secure the dishwasher to the underside of the counter. This step ensures the appliance stays steady and doesn’t move during use.
9. Test for Leaks

Turn on the water supply and run a short cycle to check for any leaks. Inspect all connections to ensure they are watertight. If you notice any leaks, tighten the connections further.
10. Final Adjustments
Once you’ve confirmed there are no leaks, make any final adjustments needed. Ensure the dishwasher door opens and closes smoothly and that it is flush with the cabinet front.
Common Mistakes to Avoid
Dishwasher Installation can be straightforward, but several common mistakes can turn the process into a frustrating experience. One common error is not measuring the space accurately. Even a small miscalculation can lead to a dishwasher that doesn’t fit properly. Always double-check your measurements before purchasing and installing your dishwasher.
Another frequent mistake is failing to tighten the connections enough. Loose water supply lines or drain hoses can lead to leaks and water damage. Use your wrench and pliers to secure all connections firmly, but be careful not to overtighten, which could damage the fittings.
Forgetting to level the dishwasher is another oversight that can cause issues. An uneven dishwasher can result in poor performance and even damage to your appliance. Use a level and adjust the legs to ensure your dishwasher sits perfectly even.
Skipping the test run is a critical error. Always run a short cycle after installation to check for leaks and ensure everything is working correctly. This step can save you from discovering problems later when it’s harder to access the connections.
Maintenance Tips for Longevity
Proper maintenance can extend the life of your dishwasher and keep it running efficiently. One essential tip is to regularly clean the filter. A clogged filter can reduce the dishwasher’s performance and cause unpleasant odors. Check and clean the filter monthly to ensure it remains free of debris.
Running an empty hot water cycle with a cup of vinegar once a month can help remove buildup and keep your dishwasher fresh. This simple maintenance step can prevent clogs and keep your appliance smelling clean.
Inspect the spray arms periodically. Make sure they are not clogged with food particles or soap scum. If you find any blockages, remove them and clean the spray arms thoroughly to ensure optimal water flow.
Check the door seals for any signs of wear or damage. A damaged seal can cause leaks and reduce the dishwasher’s efficiency. If you notice any issues, replace the seal promptly to maintain a tight, watertight closure.
Using the right detergent is crucial. Always use dishwasher-specific detergent to prevent residue buildup and ensure your dishes come out clean. Avoid using too much detergent, as this can cause overusing and reduce the appliance’s effectiveness.
Conclusion
Installing a dishwasher in an existing cabinet might seem like a daunting task, but with this guide, you can tackle it with confidence. By following these steps, you’ll have a fully functional dishwasher that enhances your kitchen’s efficiency.